Photo by Jakub Zerdzicki on Pexels
Post-Processing 3D Prints Like a Pro

Raw 3D prints straight off the build plate rarely meet final presentation standards. Whether you’re creating prototypes for investor meetings, end-use parts for equipment, or promotional products for trade shows, understanding post-processing transforms good prints into exceptional ones. While we handle finishing for many clients at CLT 3D Printing, knowing these techniques helps you plan projects and understand what’s possible.
Why Post-Processing Matters More Than You Think
Layer lines tell a story - sometimes the wrong one. A prototype with visible print artifacts might technically demonstrate function, but rough surfaces can undermine stakeholder confidence. Post-processing bridges the gap between functional validation and professional presentation.
Consider automotive aftermarket parts. A replacement dashboard vent might work perfectly with visible layer lines, but customers expect OEM-quality appearance. The same principle applies to drone components displayed at trade shows or custom corporate awards presented to executives. Surface finish directly impacts perceived value and quality.
Post-processing also enables functional improvements beyond aesthetics. Sanding creates precise mating surfaces for assemblies. Vapor smoothing can seal parts for limited fluid contact. Paint adds UV resistance to indoor-grade plastics. Each technique serves both form and function when applied correctly.
Mechanical Finishing: From Rough to Refined
Start with the right grit progression. Jumping straight to fine sandpaper wastes time and clogs the paper. Begin with 120-150 grit to knock down prominent layer lines, progress through 220-320 for general smoothing, then finish with 400-600 grit for paint-ready surfaces. Wet sanding with 800-1000 grit creates near-injection-molded smoothness.

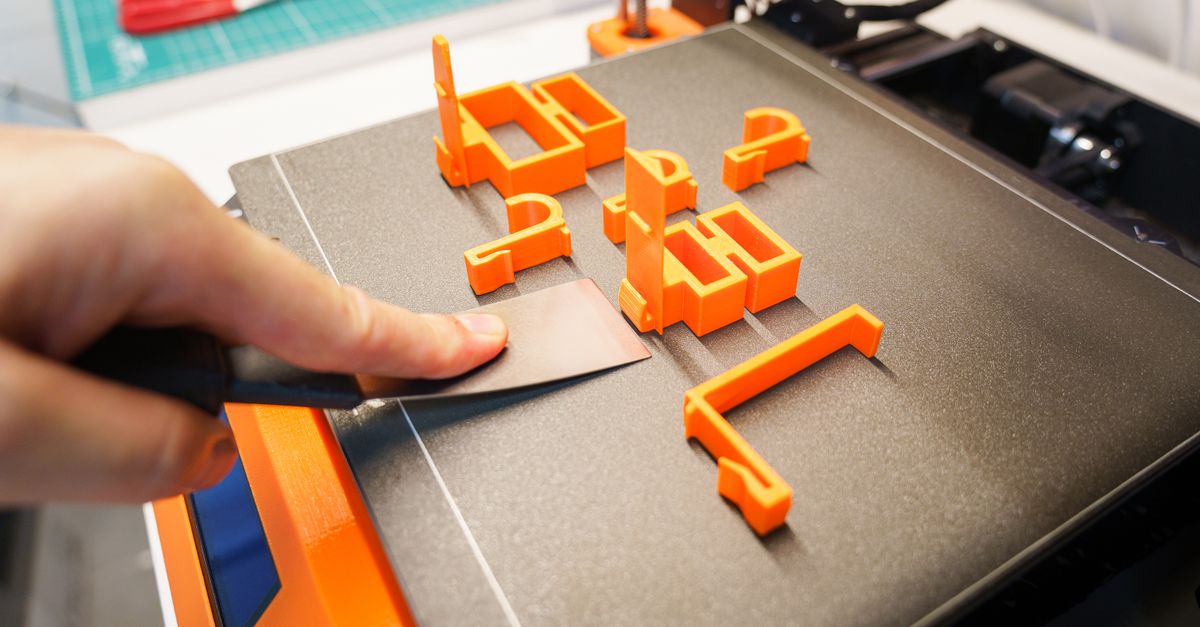
Photo by Jakub Zerdzicki on Pexels
Support material removal requires patience and proper tools. Needle-nose pliers work for large chunks, but detail areas benefit from hobby knives and small files. PLA supports snap cleanly when cold - try refrigerating parts for 30 minutes before removal. PETG supports bond more aggressively and often require careful cutting rather than pulling.
Power tools accelerate the process but demand respect. Rotary tools with sanding drums handle curved surfaces efficiently. Variable speed control prevents melting - PLA softens around 60°C, so high-speed sanding generates problematic heat. Palm sanders excel on flat surfaces but can quickly eat through material. Start with lower speeds and light pressure until you develop a feel for each material’s limits.
For internal features and hard-to-reach areas, consider abrasive filaments. These specialized materials contain abrasive particles that polish mating surfaces during a cleaning print cycle. While not suitable for fine details, they excel at smoothing internal channels and large cavities.
Chemical Smoothing: When Sanding Isn’t Enough
Vapor smoothing creates injection-molded appearance without hours of sanding. This technique works primarily with ABS and ASA parts using acetone vapor. Place parts on a suspended platform inside a sealed container with acetone-soaked paper towels lining the walls. The vapor melts the surface microscopically, flowing material into a smooth finish.
Temperature control determines success. Cold acetone produces slow, controlled smoothing. Warm environments accelerate the process but risk over-melting details. Most parts require 10-30 minutes exposure, but complex geometries might need multiple short sessions to prevent pooling in recesses. Always work in well-ventilated areas - acetone vapors are flammable and require proper safety equipment.
PETG resists most common solvents, making vapor smoothing impractical. However, heat gun treatment can reduce surface roughness. Wave the heat gun continuously at 10-12 inches distance, watching for slight glossing. This technique works best on simple geometries where even heating is achievable. Complex parts risk warping from uneven heat distribution.
PLA lacks effective chemical smoothing options for production use. While some makers report success with ethyl acetate or MEK, these create unpredictable results and significant safety hazards. Mechanical finishing remains the most reliable approach for PLA parts requiring smooth surfaces.
Priming and Painting: Professional Finishes
Primer selection makes or breaks paint adhesion. Automotive filler primer excels at hiding layer lines while providing excellent paint bonding. Apply thin coats - thick primer pools in details and cracks during curing. Sand between coats with 320-400 grit paper, building up smooth surfaces gradually.
Standard spray primers work adequately for display pieces, but functional parts benefit from specialty formulations. Adhesion promoter primers chemically bond to plastics, crucial for parts experiencing handling or outdoor exposure. High-build primers reduce the number of coats needed to hide layer lines but require more aggressive sanding between applications.
Paint selection depends on end-use requirements. Acrylic paints offer excellent color selection and easy cleanup but limited durability. Automotive paints provide superior hardness and chemical resistance. Two-part epoxy paints create the toughest finishes but require precise mixing and limited working time. Consider the part’s lifecycle - a trade show prototype needs different protection than permanent manufacturing fixtures.
Spray painting technique directly impacts finish quality. Maintain 6-10 inches distance, using smooth sweeping motions. Start spraying before reaching the part and continue past the edge. Multiple thin coats prevent runs while building even coverage. Temperature and humidity affect drying times and finish quality - ideal conditions fall between 65-75°F with 40-50% humidity.
Specialty Finishes and Treatments
Metal plating transforms plastic into convincing metal replicas. Conductive paint containing silver or copper particles creates the base layer for electroplating. While DIY kits exist, professional plating services provide superior adhesion and durability. Chrome, nickel, and copper finishes work well on properly prepared 3D prints. Parts require extremely smooth surfaces - any imperfection magnifies under reflective plating.
Hydro-dipping applies complex patterns impossible with traditional painting. Carbon fiber, wood grain, and camouflage patterns transfer from floating films onto parts dipped through the surface. Surface preparation remains critical - any contamination causes pattern distortion. Clear coat application protects the transferred design from wear.
Soft-touch coatings add premium tactile qualities to handles and control surfaces. Polyurethane-based formulations create rubberized textures that improve grip while hiding minor surface imperfections. Application requires specific temperature ranges and curing times, but results rival injection-molded soft-touch plastics.
UV-resistant clear coats extend part life for outdoor applications. Standard PLA and PETG degrade under prolonged sun exposure. Marine-grade UV inhibitor coatings significantly slow this process, though they cannot completely prevent eventual breakdown. For permanent outdoor installation, consider printing in ASA or requesting UV-stabilized materials.
Cost-Benefit Analysis of Post-Processing
Time investment scales exponentially with finish quality. Basic support removal and light sanding might add 15-30 minutes per part. Museum-quality finishing can require 4-8 hours of skilled labor. Consider whether visual perfection justifies the cost - functional prototypes often work perfectly with minimal finishing.
Batch processing improves efficiency. Set up painting stations for multiple parts. Sand several pieces before switching grits. Develop jigs and fixtures to hold parts during processing. Professional shops like ours maintain dedicated finishing stations with extraction systems and specialized tools, enabling faster turnaround than DIY attempts.
Material costs vary significantly by technique. Basic sandpaper and primer might add $2-5 per part. Professional automotive paints and clear coats can reach $20-50 per part. Specialty finishes like chrome plating or hydro-dipping might cost $100+ per part through service providers. Factor these costs early in project planning.
Common Mistakes to Avoid
Rushing undermines quality at every stage. Inadequate drying time between coats causes wrinkling and poor adhesion. Aggressive sanding creates heat that melts rather than smooths. Thick paint applications hide details and crack during curing. Patience consistently produces better results than speed.
Contamination ruins finishes instantly. Fingerprints prevent paint adhesion. Dust particles create visible bumps under paint. Silicone contamination from mold releases or lubricants causes “fisheye” effects in paint. Maintain clean work areas and handle parts with gloves during finishing.
Mismatched materials cause failures. Some primers react poorly with certain plastics. Incompatible paint systems wrinkle or peel. Always test combinations on sample pieces before processing valuable parts. When in doubt, stick with proven material combinations rather than experimenting on deadline.
Over-processing wastes time and material. Not every part needs mirror finish. Consider the viewing distance and lighting conditions. Parts seen from 10 feet away require less finishing than handheld items. Match the finishing level to actual requirements rather than pursuing perfection by default.
Transform Your 3D Printed Parts
Post-processing elevates 3D printed parts from obvious prototypes to professional-grade components. Whether you need presentation-ready prototypes, end-use parts with specific surface properties, or anything in between, understanding these techniques helps set realistic expectations and budgets. At CLT 3D Printing, we offer complete finishing services alongside our printing capabilities, handling everything from basic support removal to automotive-quality painted finishes.
Ready to discuss post-processing options for your next project? Our team can recommend the right finishing approach based on your specific requirements and budget. Visit our custom order page to start the conversation.
Continue Learning
Related Articles
Waterproofing 3D Prints: Methods & Materials
Learn proven techniques to make FDM 3D printed parts waterproof for outdoor and liquid-contact applications.
3D Printing Validation Testing Guide
Master validation testing for 3D printed parts with dimensional checks, strength tests, and material verification methods.

Cost-Per-Part Calculator for 3D Printing
Master the hidden variables that determine your true 3D printing costs and make smarter sourcing decisions.