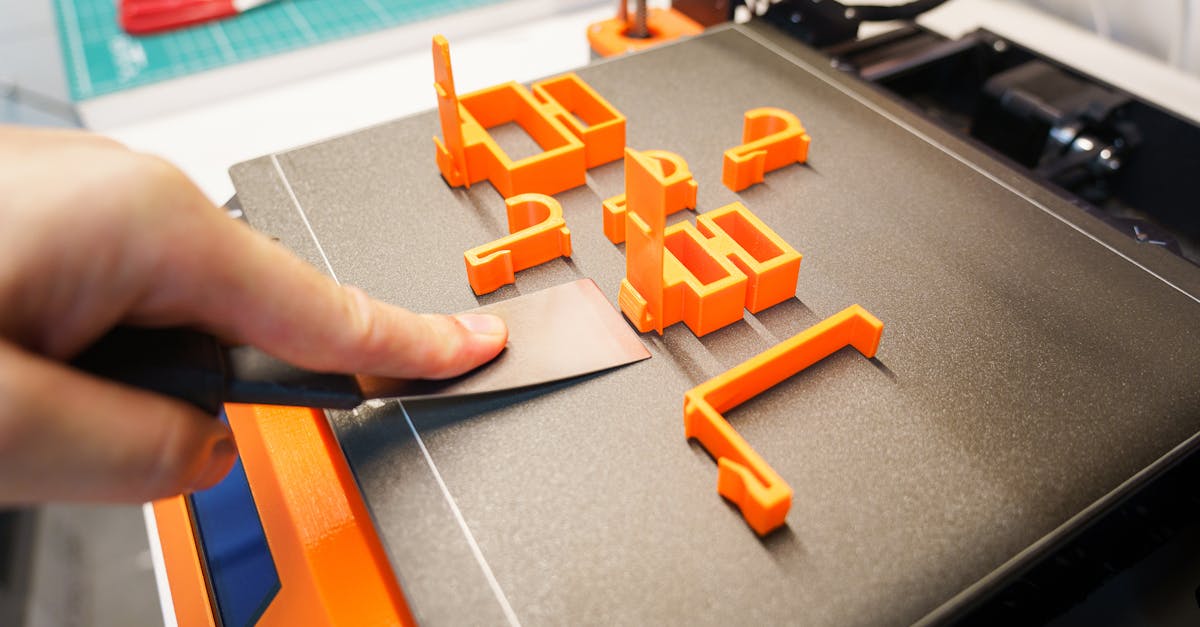
Photo by Jakub Zerdzicki on Pexels
3D Printing Support Structures Explained

3D Printing Support Structures Explained
Support structures in 3D printing often confuse businesses new to the technology. These temporary scaffolds enable complex geometries but impact cost, lead time, and surface finish. Understanding how supports work - and when you need them - helps optimize your designs for better results and lower prices.
At CLT 3D Printing, we analyze every part for optimal support placement during our design review process. The right support strategy can mean the difference between a cost-effective prototype and an expensive headache. This guide breaks down everything businesses need to know about support structures in FDM printing.
Why Support Structures Exist
FDM printing builds parts layer by layer from bottom to top. Each new layer needs something underneath to adhere to. When your design includes overhangs beyond 45 degrees, bridges spanning gaps, or complex internal geometries, the printer can’t deposit material in mid-air. That’s where support structures come in.
Think of supports like construction scaffolding. They provide temporary structure during the build process, then get removed once the part is complete. The printer builds these supports from the same material as your part (in most cases), creating a breakaway framework that enables otherwise impossible geometries.
Material behavior drives support requirements. PLA, our most common material, has relatively good bridging characteristics and can handle short unsupported spans. PETG tends to sag more during printing, requiring more robust support strategies. ABS and other high-temperature materials present their own challenges, as the heated print environment affects how the material behaves when spanning gaps.
Types of Support Structures
Modern slicing software offers several support structure options, each suited to different scenarios. Understanding these options helps you communicate effectively with your 3D printing service provider about your requirements.
Tree supports represent the latest evolution in support technology. These organic-looking structures branch upward like trees, touching the part only where necessary. They use less material than traditional supports, print faster, and often leave cleaner surfaces after removal. We frequently use tree supports for complex organic shapes and parts with multiple overhangs at different heights.
Linear or grid supports provide the traditional approach. These create vertical pillars with a grid pattern infill, offering robust support for large overhangs. While they use more material than tree supports, linear supports excel at supporting flat overhanging surfaces and are easier to predict during the design phase.
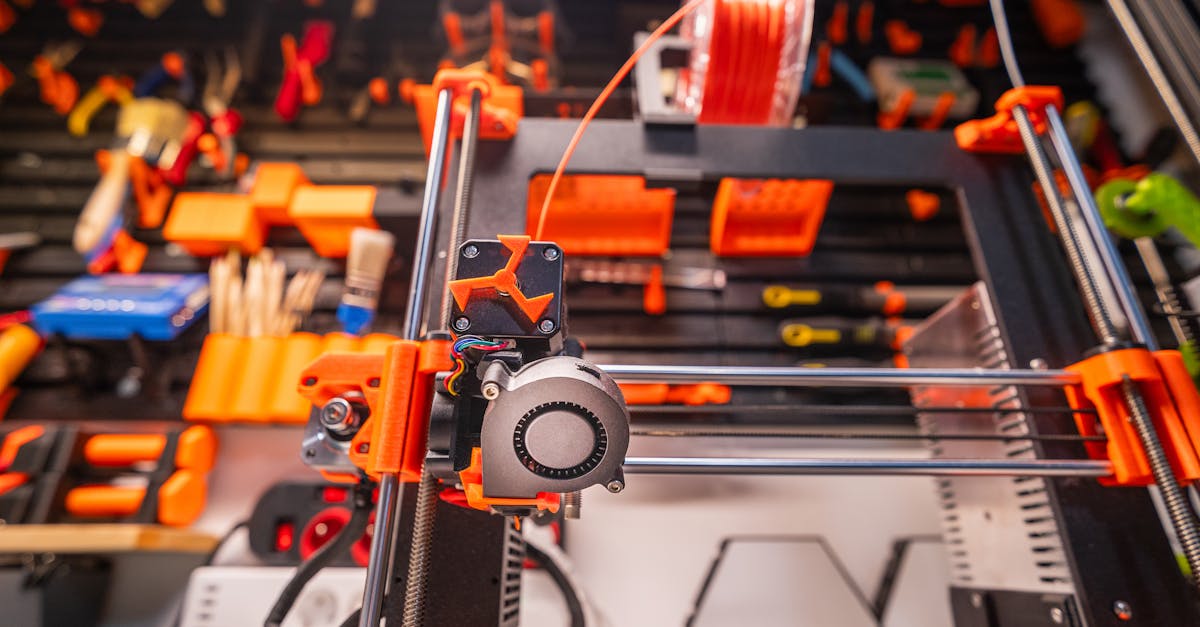
Photo by Jakub Zerdzicki on Pexels
Soluble supports offer the premium option for intricate parts. Using a dual-extrusion printer with water-soluble PVA or similar material, these supports dissolve away completely after printing. While we don’t run soluble supports as a standard service, understanding this option helps when evaluating whether FDM printing suits your most complex geometries.
Design Strategies to Minimize Supports
Smart design eliminates many support requirements entirely. By understanding how your part will print, you can often modify the design to reduce or eliminate supports while maintaining functionality. This design-for-manufacturing approach significantly reduces both cost and lead time.
The 45-degree rule serves as your primary guideline. FDM printers can successfully print overhangs up to 45 degrees from vertical without support. Incorporating chamfers or angled transitions instead of sharp 90-degree overhangs often eliminates support needs. A simple 45-degree chamfer on the underside of a protruding feature transforms a support-heavy design into one that prints cleanly without any scaffolding.
Part orientation dramatically impacts support requirements. A part that requires extensive supports in one orientation might print with minimal or no supports when rotated. During our pre-production review, we analyze multiple orientations to find the optimal balance between support needs, surface quality, and mechanical properties.
Consider a simple bracket with mounting holes. Printed flat on the build plate, those horizontal holes require support material inside each opening. Rotate the part 90 degrees, and the same holes print perfectly without any internal supports. This orientation change might affect the strength characteristics along different axes, but for many prototype and low-stress applications, the trade-off worthwhile.
Cost Impact of Support Structures
Supports directly increase material usage and print time. A part requiring 50 grams of material might need an additional 20 grams for support structures. That 40% material increase translates directly to cost. More significantly, supports increase print time, as the printer must deposit all that extra material layer by layer.
Post-processing labor adds another cost factor. While we include basic support removal in our standard finishing, extensive supports require more time to remove cleanly. Parts with supports in hard-to-reach areas or delicate features need careful manual work to avoid damage during removal.
Design optimization pays immediate dividends. We’ve seen businesses reduce their per-part costs by 30-40% simply by modifying designs to minimize support requirements. These savings compound when moving to small-batch production, where every dollar counts toward product viability.
Surface Finish Considerations
Support structures always leave marks. Even with careful removal and post-processing, supported surfaces show visible evidence - from subtle texture differences to more pronounced scarring. Understanding this reality helps set appropriate expectations and guide design decisions.
Tree supports typically leave smaller, more discrete contact points compared to linear supports. These point contacts sand away more easily during post-processing. Linear supports create larger contact areas with parallel lines that may remain visible even after finishing.
Critical surfaces should face upward when possible. The top surfaces of FDM prints achieve the best finish quality, while bottom surfaces (those touching the build plate or supports) show more texture. During design review, we identify cosmetic surfaces and orient parts to minimize support contact with these areas.
For parts requiring supports on visible surfaces, consider incorporating the texture into your design aesthetic. Some businesses embrace the technical look of support marks as part of their product’s character, especially for prototypes or industrial applications where function outweighs form.
Advanced Support Techniques
Support interfaces create cleaner break-away points. By using denser material at the contact points between supports and the part, modern slicers create supports that remove more cleanly. This technique requires careful calibration but significantly improves surface quality on supported areas.
Custom support blockers let us selectively eliminate supports in areas where they’re not structurally necessary. Small overhangs that technically exceed 45 degrees might print successfully without support if they’re short enough. Experienced operators can identify these opportunities and reduce support material strategically.
Variable support density optimizes material usage. Not all supports need the same strength. Supports for small overhangs can use minimal infill density, while large flat overhangs need denser support structures. This optimization reduces material waste without compromising print success.
Material-Specific Support Strategies
Each material behaves differently when printing overhangs and bridges. Understanding these differences helps predict support requirements and optimize designs accordingly.
PLA offers the most forgiving support characteristics. Its relatively low printing temperature (190-220°C) and quick cooling mean it can bridge moderate gaps successfully. PLA supports also break away relatively cleanly, making it ideal for prototypes where some support scarring is acceptable.
PETG requires more careful support planning. Its higher printing temperature (230-250°C) and tendency to string means supports bond more strongly to the part. We often use slightly increased support gaps with PETG to ensure clean removal without damaging the part.
High-temperature materials like ABS need special consideration. The heated chamber environment keeps the entire part warm during printing, which affects how overhangs behave. ABS supports tend to fuse more strongly with the part, requiring careful post-processing to achieve clean surfaces.
Support Structure Decision Framework
When evaluating whether your part needs supports, follow this systematic approach:
- Identify all overhangs exceeding 45 degrees
- Look for bridging features spanning gaps
- Check for islands - areas that start mid-air
- Evaluate internal geometries and cavities
- Consider part orientation alternatives
- Assess which surfaces are cosmetically critical
- Balance support needs against post-processing requirements
Communication with your 3D printing service provider streamlines this process. Share your design intent, critical dimensions, and surface finish requirements. Experienced operators can suggest orientation and support strategies that balance all these factors.
Transform Your Designs for 3D Printing Success
Understanding support structures transforms how you approach design for 3D printing. Whether you’re prototyping a new product or producing small batches of end-use parts, optimizing for minimal supports reduces costs and improves quality. Our team analyzes every design to find the perfect balance between support requirements and your project goals.
Ready to optimize your parts for 3D printing? Upload your design for a free consultation and discover how smart support strategies can improve your results while reducing costs.
Related Resources
Related Articles

Waterproofing 3D Prints: Methods & Materials
Learn proven techniques to make FDM 3D printed parts waterproof for outdoor and liquid-contact applications.
3D Printing Validation Testing Guide
Master validation testing for 3D printed parts with dimensional checks, strength tests, and material verification methods.

Cost-Per-Part Calculator for 3D Printing
Master the hidden variables that determine your true 3D printing costs and make smarter sourcing decisions.