
Photo by Jakub Zerdzicki on Pexels
Cost-Per-Part Calculator for 3D Printing

Cost-Per-Part Calculator for 3D Printing
Every week, we field calls from Charlotte-area businesses asking the same question: “How much will it cost to 3D print my part?” The answer involves more variables than most people expect. Understanding these cost drivers helps you make better decisions about when 3D printing makes financial sense versus traditional manufacturing methods.
This guide breaks down every factor that impacts your per-part cost, from obvious elements like material usage to hidden factors like support structure requirements. Armed with this knowledge, you can estimate costs before requesting quotes and optimize your designs to minimize expenses.
Material Cost: The Foundation
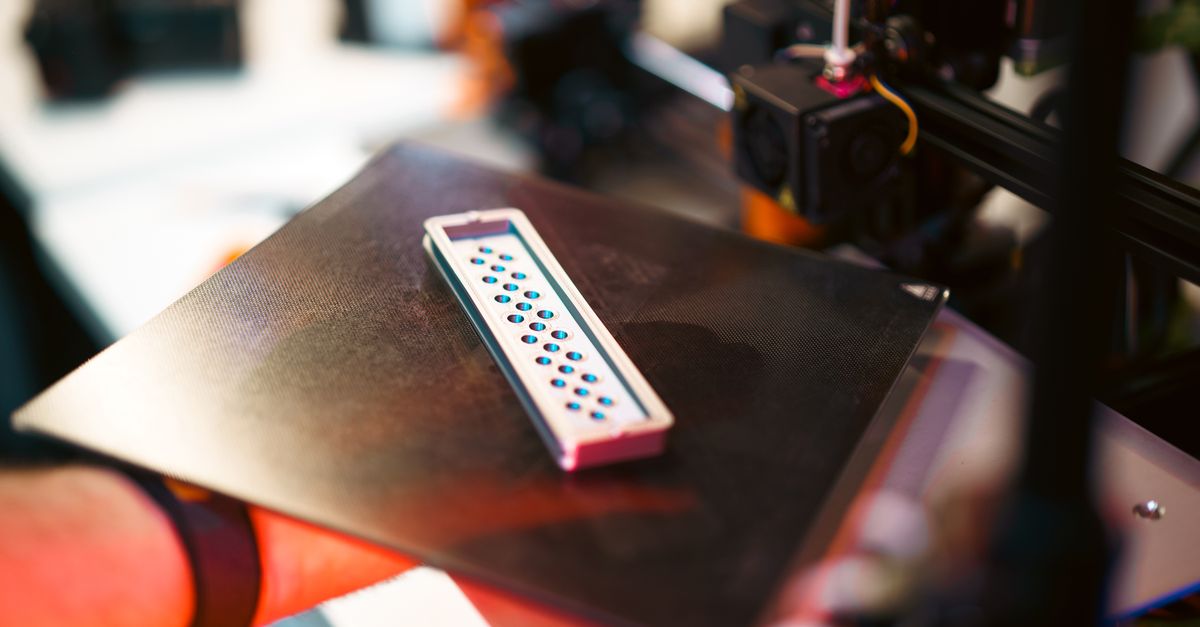
Material consumption forms the baseline of any 3D printing cost calculation. For FDM printing, material costs range from $15-25/kg for standard PLA to $40-60/kg for engineering-grade PETG. Specialty materials like TPU flexible filament or carbon fiber composites can exceed $100/kg.
To calculate material cost per part:
- Determine part volume in cubic centimeters (most CAD software provides this)
- Multiply by material density (PLA: 1.24 g/cm³, PETG: 1.27 g/cm³)
- Add 10-15% for support material and purge waste
- Multiply weight by material cost per gram
A 100cm³ part in PLA weighs approximately 124 grams. With 15% waste factor, that’s 142.6 grams. At $20/kg ($0.02/gram), material cost equals $2.85.
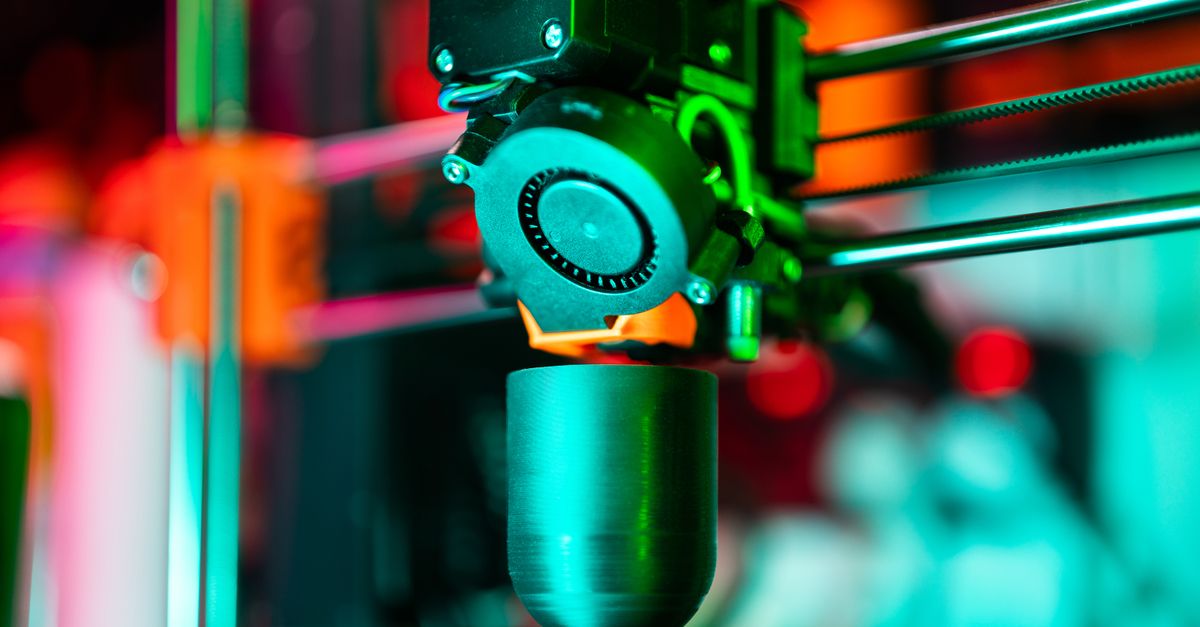
Machine Time: The Hidden Multiplier
Print time often drives cost more than material usage. A large but hollow part might use minimal material while occupying a printer for 20+ hours. Machine time rates vary by equipment type and local market conditions, typically ranging from $3-15 per hour for professional FDM printing.
Several factors influence print duration:
- Layer height (0.1mm layers take 3x longer than 0.3mm)
- Infill percentage (20% infill prints faster than 80%)
- Print speed settings (40-80mm/s for quality parts)
- Part complexity and required support structures
- Number of tool changes for multi-material prints
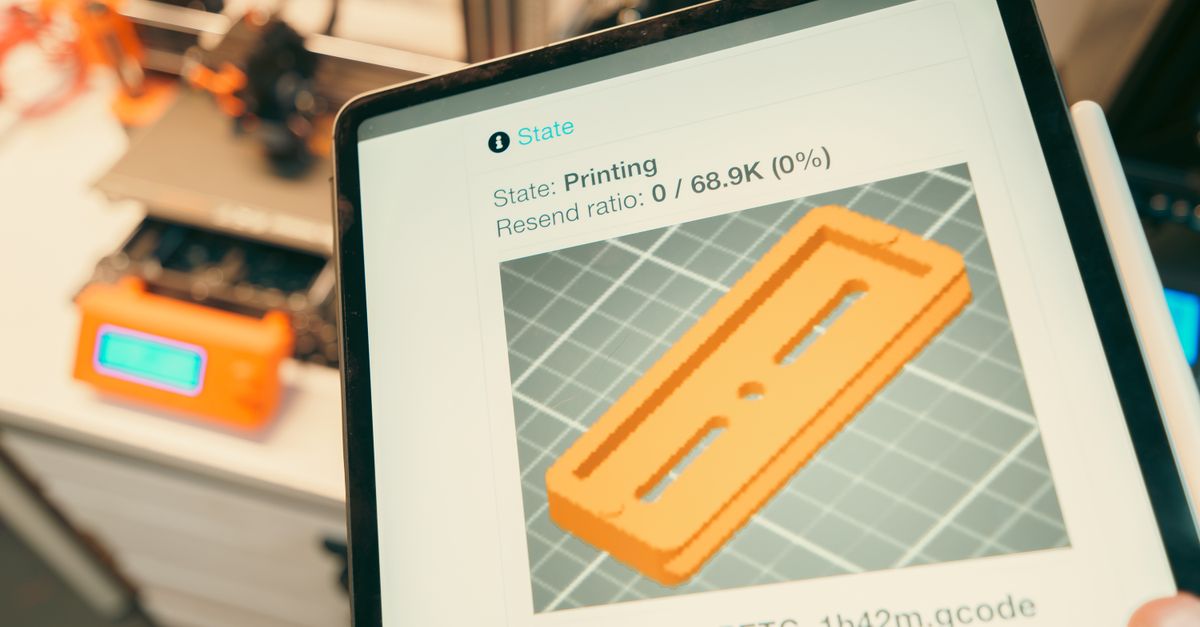
Photo by Jakub Zerdzicki on Pexels
Setup and Slicing: The Upfront Investment
Every print job requires preparation time that gets amortized across your batch size. This includes file verification, orientation optimization, support generation, and slicing parameters. Setup typically takes 15-30 minutes per unique geometry.
For single prototypes, setup cost might equal 25-50% of total job cost. But spread across 50 units, setup becomes negligible. This explains why unit costs drop dramatically as batch sizes increase - the same principle that makes small-batch 3D printing competitive with injection molding at certain volumes.
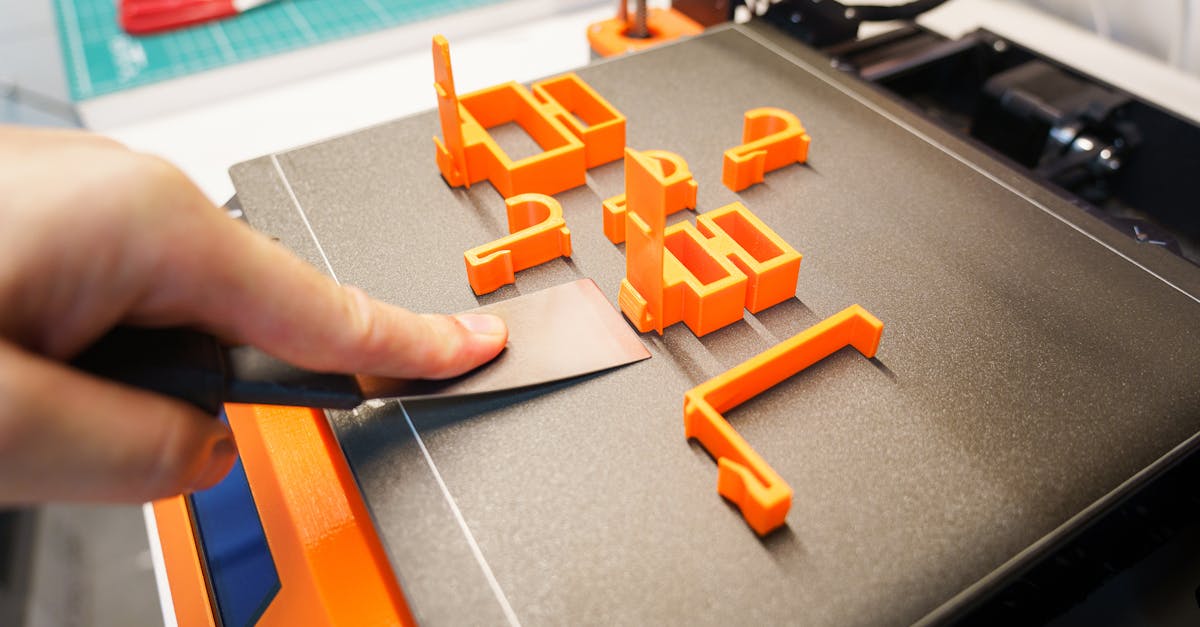
Labor: Beyond Button-Pushing
Professional 3D printing involves more labor than loading filament and pressing start. Skilled operators monitor prints, perform quality checks, remove supports, and handle post-processing. Labor rates in Charlotte typically range from $25-50/hour depending on skill requirements.
Labor tasks include:
- Pre-print inspection and bed preparation
- Print monitoring and intervention
- Support removal and basic finishing
- Quality control measurements
- Packaging and documentation
Parts requiring minimal post-processing might add $2-5 in labor costs. Complex assemblies needing precision support removal could add $20+ per part.
The Batch Size Effect
Unit economics improve dramatically with quantity. Here’s how costs typically break down across different batch sizes for a medium-complexity part:
1 unit: Material ($3) + Machine time ($15) + Setup ($10) + Labor ($5) = $33/part
10 units: Material ($30) + Machine time ($150) + Setup ($10) + Labor ($30) = $22/part
50 units: Material ($150) + Machine time ($750) + Setup ($10) + Labor ($100) = $20.20/part
100 units: Material ($300) + Machine time ($1,500) + Setup ($10) + Labor ($150) = $19.60/part
This demonstrates why batch size economics favor 3D printing for runs under 500 units. Setup costs that would cripple injection molding barely impact FDM printing costs.
Design Decisions That Drive Cost
Smart design choices can reduce costs by 50% or more without compromising functionality. Consider these optimization strategies:
Wall Thickness
Thicker walls increase material usage and print time exponentially. A 3mm wall often provides similar strength to 5mm while using 40% less material. Our design rules guide covers optimal wall thickness for different applications.
Infill Strategy
Dense infill rarely improves part strength proportionally to added cost. Most functional parts perform well with 20-40% infill. Strategic infill patterns like gyroid or cubic subdivision maximize strength-to-weight ratios.
Support Requirements
Parts requiring extensive support structures increase material waste and labor time. Design with 45-degree overhangs, add chamfers to eliminate bridges, and orient parts to minimize support needs.
Part Consolidation
Combining multiple components into one printed assembly eliminates assembly labor and reduces total print time. This part consolidation approach particularly benefits small mechanical assemblies.
Comparing Technologies: FDM vs Resin vs Traditional
Different manufacturing methods excel at different price points and geometries. FDM printing dominates the sweet spot between prototypes and mid-volume production. Here’s when each technology typically wins on cost:
FDM 3D Printing: 1-500 units of parts larger than 2 cubic inches, moderate tolerance requirements (±0.2mm), functional prototypes, jigs and fixtures
Resin Printing: 1-100 units requiring fine details (<0.5mm features), smooth surface finish critical, miniatures and jewelry masters
CNC Machining: 1-50 units requiring tight tolerances (±0.05mm), metal parts, simple geometries from standard stock sizes
Injection Molding: 500+ units of the same part, simple to moderate complexity, when tooling cost can be amortized
Our comparison of 3D printing versus CNC machining explores these tradeoffs in detail.
Hidden Costs to Consider
Several costs often surprise first-time buyers. Factor these into your total landed cost:
Iteration Cycles
Prototypes rarely work perfectly on the first try. Budget for 2-3 iteration cycles during development. The ability to iterate quickly gives 3D printing its advantage in rapid prototyping applications.
Shipping and Handling
Local sourcing eliminates shipping costs and delays. We serve businesses throughout the Charlotte metro area with same-week turnaround on most orders.
Quality Failures
Even professional services occasionally produce failed prints. Reputable providers absorb these costs, but budget 5-10% contingency for rush reprints or design modifications.
Design Services
No CAD file? Professional design services typically cost $75-150/hour. Simple parts might require 1-2 hours, while complex assemblies could need 10+ hours. Our custom design services help Charlotte businesses without in-house CAD capabilities.
Real Cost Calculation Example
Let’s calculate costs for a real-world scenario: producing 25 custom equipment housings for a Charlotte manufacturer.
Part specifications:
- Size: 150mm x 100mm x 75mm
- Material: PETG for chemical resistance
- Volume: 287 cm³ (with 30% infill)
- Print time: 6 hours each
- Support material: 15% of part volume
Cost breakdown:
- Material: 287 cm³ × 1.27 g/cm³ × 1.15 waste factor = 419g × $0.04/g = $16.76/part
- Machine time: 6 hours × $8/hour = $48/part
- Setup: $25 total ÷ 25 parts = $1/part
- Labor: 20 minutes/part × $35/hour = $11.67/part
- Total: $77.43 per housing
Compare this to CNC machining ($150-200/part at this quantity) or injection molding ($20/part plus $15,000 tooling), and 3D printing emerges as the clear winner for this application.
Building Your Own Calculator
Create a simple spreadsheet to estimate your costs before requesting quotes. Include these fields:
- Part volume (from CAD software)
- Material type and density
- Estimated print time (volume ÷ 10 cm³/hour for rough estimate)
- Batch quantity
- Post-processing requirements
This gives you a ballpark figure to evaluate quotes and compare manufacturing options. Professional services might quote higher or lower based on their specific capabilities and capacity.
Making the Numbers Work
Understanding true cost-per-part calculations empowers better sourcing decisions. Whether you’re prototyping a new product or need small-batch production, knowing these cost drivers helps you optimize designs and choose the right manufacturing method.
Charlotte businesses looking to leverage 3D printing’s cost advantages for prototypes, tooling, or production parts can start with a custom order consultation. We’ll help you calculate exact costs for your specific application and identify opportunities to optimize your design for manufacturing efficiency.
Related Resources:
Related Articles
3D Printing Validation Testing Guide
Master validation testing for 3D printed parts with dimensional checks, strength tests, and material verification methods.
3D Printing Support Structures Explained
Master support structures in 3D printing to reduce costs and improve part quality for your business projects.
Prototype Testing Methods That Save Time
Learn proven prototype testing techniques that accelerate development cycles and catch issues before expensive production runs.